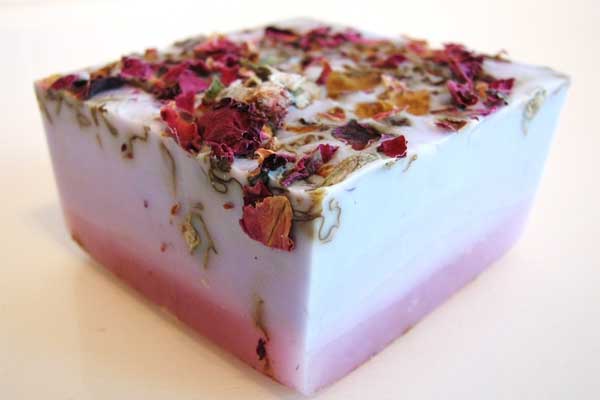
If you want to make homemade soap just like a professional soapmaker, then you need a great guide to show you step by step in the easiest way possible.
While making homemade soap is quite simple, you need to know about a few things before you are ready to start creating beautiful soaps.
Soap Colorants
This is one of the easiest ways to personalize your soaps. There are several different types of soap colorants that you can use to put a personal touch on the soaps you create.
For instance, you can use dyes which are easy to obtain and very cost effective. You can get any color you could ever want! The only downside to using dyes with your homemade soaps is that they contain a lot of chemicals which sometimes means they don’t react well with lye soap. In this case, it is best to use natural colorants so you
don’t waste any soap.
Soap Ingredients
They are numerous ingredients you can use in your soaps, depending on what type of soap you wish to create. You can use butters which can add extra moisturizing to your soap. There are also various clays that can be used to absorb impurities from the skin.
As far as scents go, you can use a variety of different carrier oils (this makes up the majority of soap ingredients) and essential oils to add different properties.
Some other ingredients that can be used to create beautiful, professional soaps are herbs (for extra scents or exfoliant purposes), buckwheat husks, aloe vera, and many more options.
Cold Process Soap Making
This soapmaking method does not require any heat source. With the cold process method you will use lye which is blended with the oils in the recipe to initiate saponification. After that stage, the soap will cure for a few weeks so the moisture content is reduced.
Hot Process Soap Making
This method requires heat to give the saponification process a kick. After all of the ingredients are combined, heat is added and then the mixture is stirred until the soap begins to form.
Hot process soapmaking was the preferred method when soap started being created. The primary benefit of making soap with the hot process method is that the concentration of the lye does not have to be known for the process to be performed successfully.
Melt and Pour Soap Method
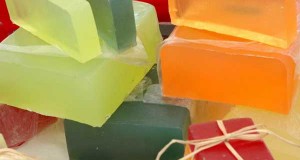
Most beginners usually start with the melt and pour method. Using this a method, a soap base (premade glycerin) is melted and poured into molds and then oils and other ingredients are added depending on the recipe being used.
The biggest benefit of the melt and pour method is that lye isn’t required. The downside, however, is that since a premade soap base is being used, you don’t have the option to control every ingredient in the soap.
Soap Making Supplies
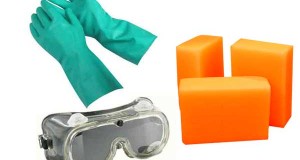
You can’t make soap without all of the necessary equipment. It all depends on what soap making method you use, but here are the items that are typically required:
- Goggles
- Soap mold
- Pair of gloves
- Spoon, stick, or other utensil for mixing
- Bowls
- Ingredients called for in the recipe
 Start Soap Making Enjoy the process, Reap the Benefits and Beautify With Homemade Soap


