Hot process soap making is simply a variation of the cold process method of soap making. Making soap via the hot process method is at times the method preferred by soap makers because they have the option of creating soaps from scratch. In addition, this method is combined with the science of creating the soap from beginning to end. Furthermore, cooking the soap thoroughly eliminates the long cure time for soap as compared to the cold process soap making method.
When using the hot process method, the soap ingredients are added to a cooking vessel and placed over some type of heat source. The most commonly used vessels are a stove, microwave, or even a crock pot. After being “cooked”, the mixture is poured into a mold and the excess water is allowed to evaporate. Once the mixture is entirely cooled it be may be un-molded and used.
The hot process soap method is an excellent choice for individuals who want to customize soap recipes to include a wide range of the base ingredients of their choice but do not want to wait for the extended cure time for the soap to be completed.
While the hot process soap making is simple, it is a technique that requires practice and patience. Many expert soap makers agree that it is best attempted after an individual has mastered the cold process soap making technique as well as the melt and pour methods of soap making.
The following instructions will provide you with the necessary techniques to employ with the hot process method recipe. Note: Olive oil should not be used with the hot process soap method because of the delicate composition of olive oil soaps.
Before starting the hot process method, make sure you have all of the necessary equipment ready to use and the ingredients prepared that are called for in the recipe.
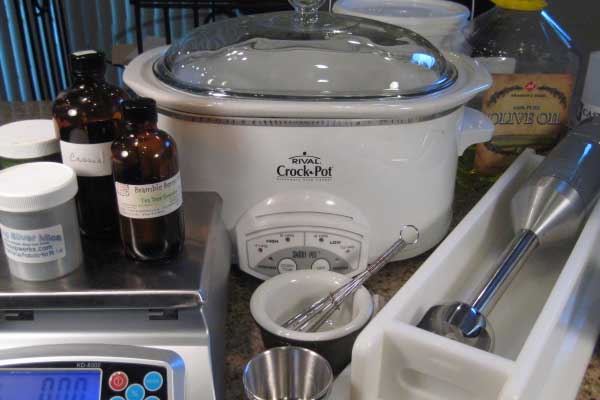
You will need the following equipment for the hot process method:
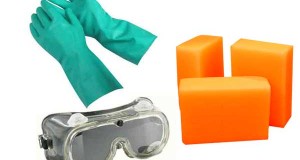
- Rubber Gloves
- Plastic Goggles
- Surgical Mask
- Stick Blender
- One large pot
- Electric Scale that measures ounces and grams
- A heat source. Use a stove, double boiler, crock pot or microwave safe container and a microwave.
- A soap mold and freezer paper or waxed paper. The freezer paper or waxed paper is used for lining the mold. If you do not line the mold it will be very difficult to remove the soap. Wooden soap molds work best for hot process soap.
- Add your water to the pot and then heat it gently. Slowly add lye to the water and dissolve. Important note: never add water to lye. Always add the lye to the water.
- Add the fats in the recipes such as: coconut oil, sesame oil, and shea butter.
- Allow your soap mixture to boil until it reaches saponification. Saponification is complete when the soap begins to form inside the cooking utensil.
- After saponification is complete, take the soap off of the heat source and then use a spatula to assist in pouring the mixture into soap molds that have been lined with freezer or wax paper. When using freezer paper, make sure you have it shiny side facing up.
- Allow your soap to set up and when it is time to remove it from the mold, gently un-mold the soap from the molds. The soap will be slightly sticky, but rest assured that this is normal. However, after it cures for about three to four weeks it will dry out enough to remove the stickiness from its texture.
The hot process method of soap making is a combination of art and science.
 Start Soap Making Enjoy the process, Reap the Benefits and Beautify With Homemade Soap


