How to Make Soap with Lye Part 3/4
in Soap Info
October 27, 2013
2021 Views
Part Three: Pouring the Soap
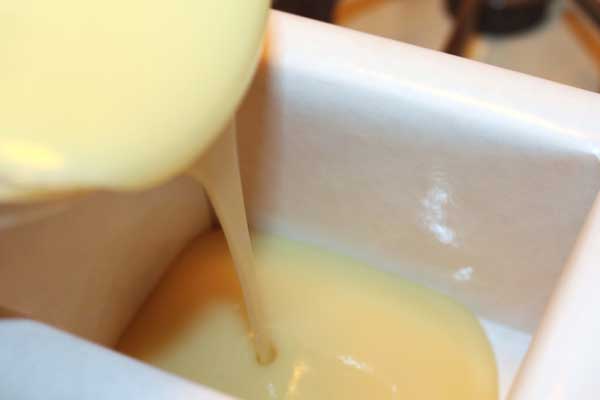
- Pour the soap into your mold. If you are using a shoebox or wooden mold, make sure it is lined with parchment paper. Use an old plastic spatula to scrape out the last bits of soap from the pot to the mold.
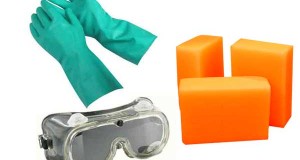
- Be sure you are still wearing gloves and safety goggles during this step, since raw soap is caustic and can burn skin.
- Carefully hold the mold an inch or two above the table and drop it. Do this a few times to work out any air bubbles inside the raw soap.
- Cover the mold. If you’re using a shoebox as a mold, put the lid on it and cover with with several towels. If you’re using a soap mold, tape a piece of cardboard over the top before adding towels.
- The towels help insulate the soap to allow saponification to occur.
- Leave the soap covered, undisturbed, and out of air drafts (including the air-conditioner) for 24 hours.
- Check the soap. The soap will go through a gel stage and a heat process during the 24 hours. Uncover the soap and let it sit for another 12 hours, then see what the results are.
- If you measured accurately and followed the directions, the soap may have a light layer of a white ash-like substance on the top. This is basically harmless and can be scraped away with the edge of an old ruler or metal spatula.
- If the soap has a deep oily film on top, it cannot be used, because it has separated. This will occur if your measurements were not accurate, you did not stir long enough, or if there is a drastic difference in the temperatures of the lye and oils when they are mixed.
- If the soap did not set at all, or has white or clear pockets in it, this means it is caustic and cannot be used. This is caused by under-stirring during the soap-making process.
Part Four: Curing the Soap
- Unmold the soap. Turn the box or mold over and allow the soap to fall on a towel or clean surface.
- Cut the soap into bars. You need to use tension to cut soap of this type. You can use a sharp knife, a length of wire with two handles, or heavy nylon string or fishing line.
- Allow the soap to cure. Set the soap on top of parchment paper on a flat surface or a drying rack for two weeks to allow the saponification process to complete and the soap to fully dry. Turn the soap over after two weeks to let it dry on the other side.
- Use the soap after one month. When the soap has fully cured, use it in your own bathroom or wrap it up and give it to your friends. It will keep indefinitely.
how to make soap with lye 2013-10-27
 Start Soap Making Enjoy the process, Reap the Benefits and Beautify With Homemade Soap


